
With the new manual classification workflow, you can now assign a document type directly when uploading or editing — improving accuracy, filtering, and automation.
This feature must be enabled for all clients once new communications go live.
What Is Manual Document Classification?
This feature allows users to manually set a category for any uploaded or edited document.
The classification determines how the file is sorted, validated, or used in downstream workflows.
Step-by-Step: How to Classify a Document
1. Upload or Edit a Document
To get started:
-
Navigate to the claim you're working on
-
Go to the Documents section
-
Either:
-
Upload a new file
-
Or open an existing document
-
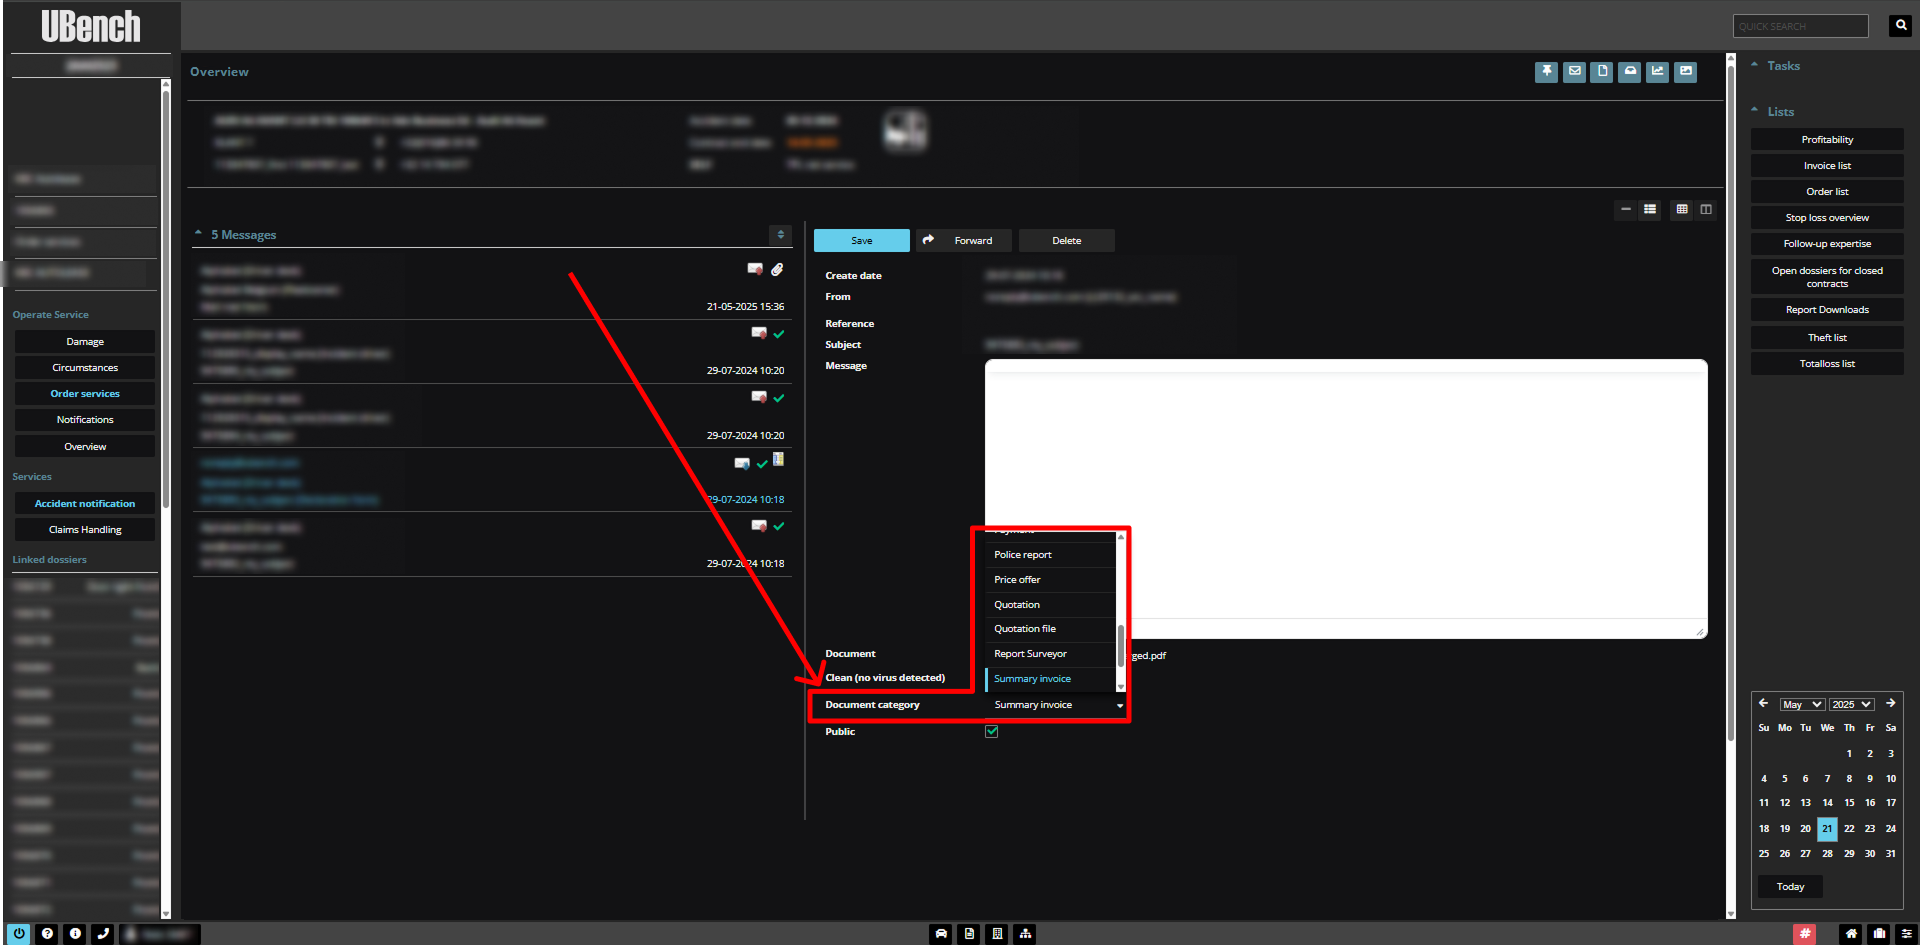
2. Select the Document Type
Once the file is open:
-
Find the “Document category” dropdown field
-
Click it and choose the correct document type from the list
3. Save the Classification
-
After selecting a type, click Save
-
The document is now tagged with the selected type
-
This classification helps with:
Filtering and sorting
Required document validation
Triggering automations (e.g., missing-doc alerts)
4. Update the Type Later (Optional)
Need to change the type?
-
Open the document in edit mode
-
Change the category in the dropdown
-
Click Save
💡 The system will automatically reprocess the file based on its new classification.
Summary of Key Features
| Feature | Description |
|---|---|
| 📁 Manual tagging | Add classification when uploading/editing documents |
| 🧭 Guided selection | Dropdown menu enforces correct types |
| 🔄 Editable | Change the type later if needed |
| ⚙️ Triggers automation | Supports validation & alerts |
| 🧹 Enables filtering | Makes document lists easier to sort and manage |
Stay Organized, Stay Compliant
Use Manual Document Classification to make every document count — and automate what follows.